
The Ultimate Paint Guide For Home Renovations
Giving your home a fresh coat of paint can completely transform the look and feel of a room. With so many paint options to choose from, selecting the right paint for your home renovation project can be overwhelming. This is the ultimate paint guide for home renovations Is something you need to know when choosing paint for renovating different areas of your home.
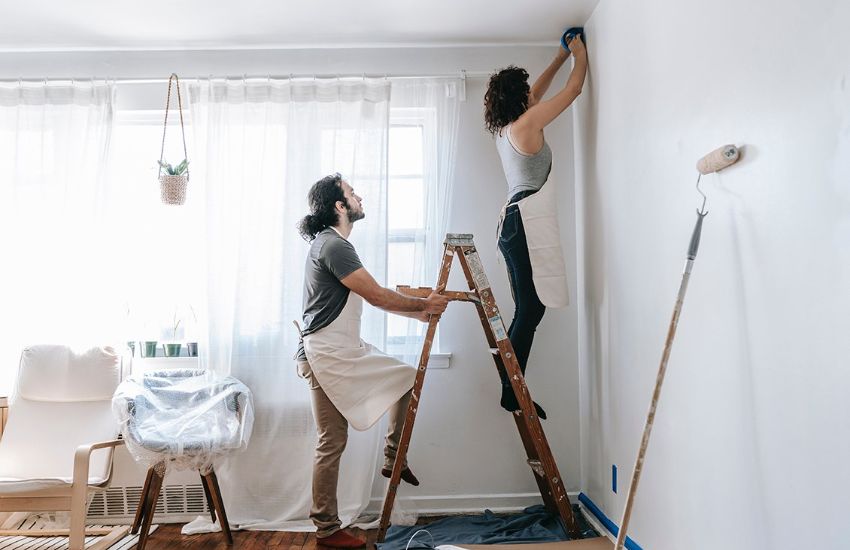
When Should You Paint Your Home?
The timing of your painting project is crucial. Ideally, you should aim for seasons with mild temperatures and low humidity, such as spring or fall. These conditions help the paint dry evenly and achieve a flawless finish. Additionally, consider your schedule. Choosing a time when you’re less busy, like during a vacation or a long weekend, can make the painting process more relaxed and enjoyable.
Easy Tips for Painting Your Home
Selecting High-Quality Paint
If you want to paint anywhere, the paint you choose can make a big difference. Not only do better paints cover better, but they also last longer, so you won’t have to touch them up as often.
Most of the time, these paints have better binders and pigments, which makes the colors deeper and the finish smoother. They are also more resistant to problems like fading and stains. It might cost more upfront to buy high-quality paint, but it will save you time and money in the long run.
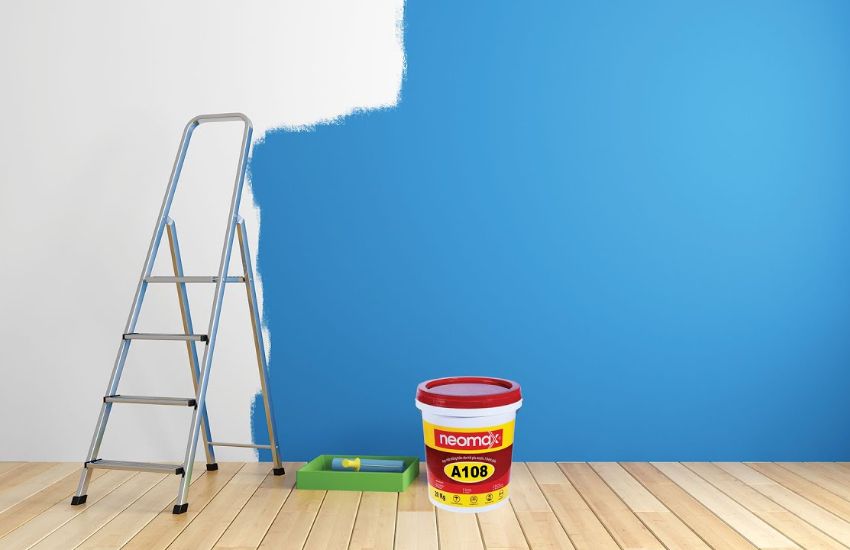
Choosing the Right Color
Picking the perfect color from the best renovation company in Dubai is essential for achieving great painting results. Colors can dramatically affect the mood and atmosphere of a room. For instance, cool tones like blues and greens create a calm and serene environment, while warm hues like reds and oranges bring energy and vibrancy.
Consider the room’s purpose and the ambiance you want to create. It’s also wise to test the paint color on a small section of the wall to see how it looks in different lighting conditions throughout the day before committing to it.
Preparing the Surface
Achieving flawless painted finishes starts with proper prep work. Don’t skip these key steps:
- Wash Surfaces Use TSP substitute cleaner and water to clean walls of dirt, grease, and soap residue. Rinse thoroughly. Allow to fully dry.
- Repair Imperfections Fill holes, cracks, and damaged areas with sparkles. Sand smooth when dry then wipe away dust.
- Remove Outlets and Switch Plates Take these off using a screwdriver so you can paint behind them thoroughly.
- Tape Trims Apply painter’s tape right along baseboards, crown moldings, and door and window trims. This protects them from drips and splatters.
- Cover Floors/Furniture Drop cloths safeguard your floors. Tack plastic sheets over furnishings or place bulky items in the center of the room.
- Prime Repaired Areas Spot prime patched spots with a tinted primer that matches your topcoat color. This helps them blend better once painted.
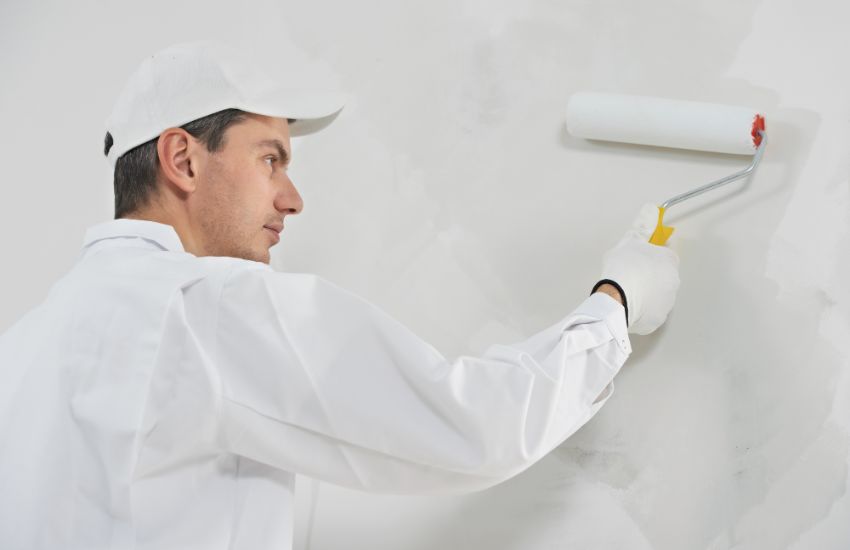
Choosing Paint Rollers and Brushes
The tools you apply paint will impact the finished results. Adapt coverage for each surface and paint type by selecting properly sized nap rollers and brushes:
- 3/8” nap roller: Smooth surfaces like ceilings and siding
- 1/2″ nap roller: Semi-smooth drywall and plaster walls
- 3/4″ nap roller: Semi-rough stucco or textured walls
- 1 1/4″ nap roller: Rough exterior wood or brick
Use angled cutting brushes for trims and straight-edge brushes for broad surfaces. Purchase rollers and brushes specifically formulated for latex or oil-based paints. Don’t interchange between the two types.
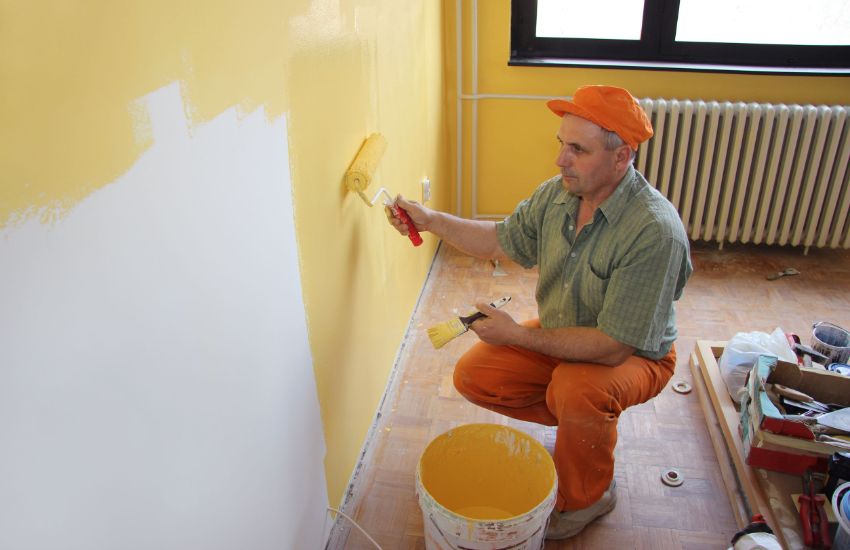
Applying Primer
One important step that shouldn’t be skipped is priming the surface before painting. Primer does many things, such as covering up spots and dark colors, making paint stick better, and even lowering the number of coats that are needed. This is especially important if you are making a drastic color change or painting over a high-gloss finish. Priming ensures a uniform base for your paint, contributing to a more professional-looking finish.
Painting Best Practices
- Cut In Trims Use an angled trim brush to cut in around all taped edges and trim corners with your topcoat paint first. Allow to dry completely.
- Roll On Walls
- Dip your roller into the tray then roll back and forth across ridge sections to release excess paint. Apply in approx. 3×3 ft sections using “W” and sideways “M” patterns.
- Maintain Wet Edges Feather out margins where freshly painted areas meet dry ones before stopping to prevent lap marks. Always keep edges wet and blend sections.
- Inspect Coverage
- Ensure you apply enough paint to fully coat surfaces. If hiding issues emerge, consider a second finish coat for full opacity after proper drying time.
- Remove Tape
- Carefully pull off the painter’s tape promptly after painting while the finish is still soft and the edges remain crisp-looking.
- Allow to dry paint adequate drying time between coats according to manufacturer guidelines to prevent issues with adhesion or trapped moisture.
- Clean Up Properly Seal containers tightly for storage and reuse. Clean brushes thoroughly after using either water or solvents per type of paint.
Pay Attention to the Art of Color Selection

Choosing the right color can change how a room feels. Colors have a big effect on how a room feels. Blues and greens tend to make people feel calm, while yellows and oranges make people feel more energized. You should try to paint samples on your walls before making up your mind about the color. You can see how the color looks in different lighting and at different times of the day this way.
Conclusion of Paint Guide in Home Renovations
As part of your home renovation project painting can be fun. It gives you a chance to make your place more like you. By choosing the right time for your project, preparing thoroughly, selecting quality materials, and applying the paint with care, you can dramatically transform your home. Every stroke of the brush brings you closer to realizing your dream space, so enjoy the process and watch as your home comes alive with new colors!


